
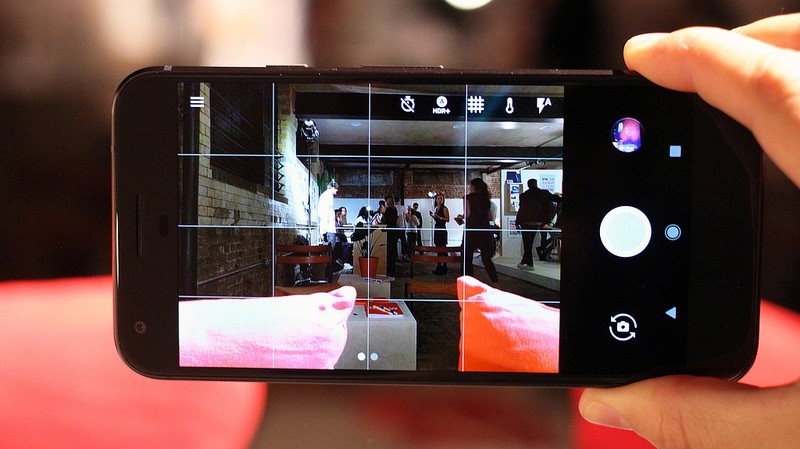
Image Credit: www.swiftcontractphones.com
Smartphone cameras have revolutionized the way we live. They capture all our important and mundane moments of our lives alike. We can make memories as we go along and store them permanently.
However, sometimes little adjustments in our smartphone cameras leaving us wanting.
Here are five fixes for common smartphone picture mistakes.
#1 Out of focus photos
It happens very often that when the person or subject you want to capture isn’t supposed to be the center of the image. When that happens, the camera often picks up another object in the background which is usually center of the shot and focuses on it. It turns your artistic picture into a disaster. The most common fix is to tap on the subject (in some phones tap twice) and the camera will start focusing on the subject.
#2 Blurry fast-action/sports shots
If you have ever tried to take photos of sportsmen in live action or an animal carelessly flying/moving about, more often than not the pictures of these fast moving objects will appear blur. There is a simple fix to this frustrating problem; raise the ISO setting. When the shutter speed is faster, it will be able to freeze the action more easily.
#3 Dark faces in bright shots
When your camera is set to Auto mode, it tries to unify the exposure to everything. That is why when you trying to shoot a person outdoors or with a backlit background, their faces appear dark in comparison to the background.
You can try turning your flash on, even when you are in an outdoor sunny setting. The flash will ensure that the face of the person is well-lit. This technique is called “Fill Flash”.
Next fix is to turn the HDR (High Dynamic Range) mode on. This will increase the size of your picture on disk but it will bring out details. It will merge the over and underexposed areas of a picture and produce a much more even result.
If neither of the above solutions is working, you can manually adjust the exposure.
#4 Dark, grainy low light shots
If you are shooting in a lower light setting, you would naturally increase exposure. This will result in an untidy, blurred and grainy photo. The two techniques we mentioned above can come in handy when you are taking low light shots.
First you can turn up the ISO setting that will allow the camera to focus best with the available light, Secondly, you can turn the HDR mode on which works the same way as explained when taking photos in bright areas. It will bring out details and give you the best possible result.
#5 Cluttered backgrounds
In the heat of a moment, sometimes when we click a picture we forget about the background. And wham! When the picture comes out, we realize that the background is not what we desired and it is too distracting.
If you are a Photoshop guru then fine, but if not, you can use a brilliant app. AfterFocus is a free app that allows you to pick a subject by tapping on it, and when you do, it intelligently blurs the rest of the picture. This way the background diminishes and the intended object comes into focus.