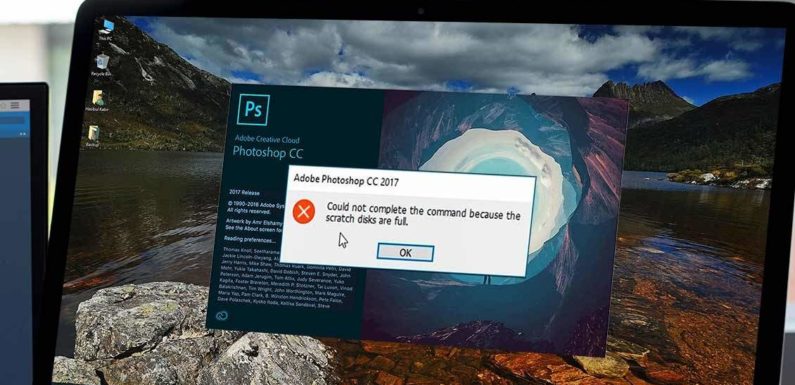
Sometimes you get a notification about an error related to your scratch disk when you are working with image or video editing software. Before you do anything make sure to verify the amount of the remaining space – how bad is the situation? Go to the main Apple menu, choose “About This Mac” option and select the tab “Storage.” If your computer is seriously lacking space reaching the minimum mark, then you may consider tutorial helpful.
What is a Photoshop scratch disk?
Before we describe how to fix this issue, let’s quickly brush on our knowledge of types of dynamic storage. Scratch disk is created as you work with memory-consuming applications such as Adobe Photoshop or Final Cut Pro. Video and image editing, especially high-resolution photos, results in a significant load on your computer resources, so these programs require a specific amount of hard disk to continue operating editing programs.
This way, the program will covertly isolate some of your system’s capacities and overload the operational memory with an array of temp files.
Types of errors
The problem concerning scratch disk errors usually occurs when you keep open a large number of images in the editor. Another reason could be your manipulations with multiple layers which drains down processing power.
Video and image editors create a full-size separate file for each change that you perform so you can go back by enabling History of your edits and looking at older versions of the file or return to a previous stage to start working with the intermediate version of it.
Keeping historical versions of a file can seriously overload your computer. When the problem becomes critical, you get a pop-up alert informing that your scratch disks are full.
Alter the number of History States
The first option could be limiting the number of history steps lodged on your hard drive. This can help recover the disk space and give the boost to the productivity. Here’s how to do this: head on to the main Photoshop menu (under Photoshop CC link, this is the upper right menu option) and go to Preferences/General. You can also enable this by cmd+K key command. Click “Performance” in the left-hand menu and input the number of History States that you wish to save.
You can change these settings depending on the scope of the project working on. You can also alter Cache Tile Size in megabytes and the number of cache levels. Choose larger tiles for projects with large pixel dimensions and at the same time opt for smaller tiles for projects with low pixel dimensions but lots of layers. This will ensure the optimal GPU performance.
Reduce the number of temporary files
You automatically generate a significant amount of temp files when you unexpectedly shut down the application or close the computer without closing the program and saving your work. Temp folder overflowing with files often causes the computer to shut down in the middle of work causing a lot of frustration.
Make sure to erase temp files when you finish the project and save the final result. On a Mac, the temp folder can be found using Finder, heading on to Users >; Username >; AppData >; Local >; Temp. Once you have saved your file, go ahead and delete your temp files and use other helpful methods of cleaning your scratch disks outlined here.
The best option would be to dedicate sufficient space on your hard drive, possibly by sending data to the cloud, since the image and video applications read and save file data on the hard disk. The speed of your hard disk is crucial here. Make sure you have at least 3.5 GB free on your hard disk to run applications smoothly either on Windows or Mac device. This way, your image and video editors can run without errors.

