
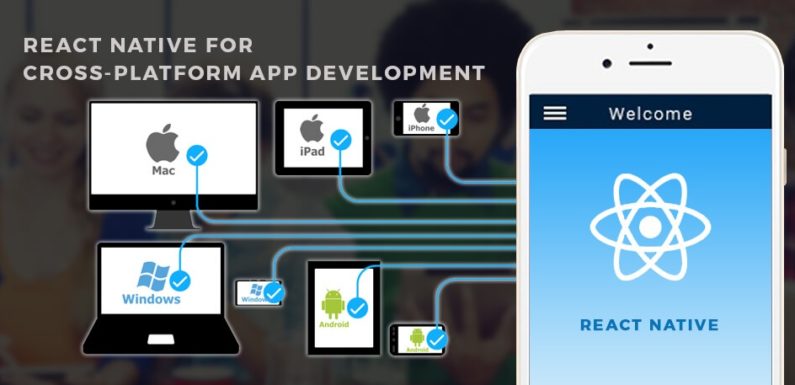
Do you want to attract your viewers through amazing android apps that make the user glued to your post? Well, there are a lot of options to choose from. However, setting up the reactive Native environment is extremely easy and challenging. Once the app is created, this environment will let you run on an emulator, which makes it easy to create sample app & run it on window emulator. Here is how you can set up window via React Native Framework. To take things forward, just follow all the development tools given.
- Android Studio
- Windows
- Node Package Manager
- Built-in emulator
- Js
- Java Development Toolkit ( JDK of version 8 or higher)
- React Native Command Interface
Just Go through the steps and develop react native on windows.
Step 1: How to Install Visual Studio
Installing Visual studio code is the first and foremost step in running the app and its not time-consuming. Click on the link https://code.visualstudio.com/ to download Visual studio code. Also, make sure that the version you download is latest and free from harms.
Step 2: How to Install Android Studio
After installing the Visual Studio code, you will be required to download the Android studio. Click on https://developer.android.com/studio/ to install Latest version Android studio.
As React Native Command line works on Android 6.0, it is necessary that you have either Android 6.0 or Nougat. SDK should be fresh and latest. In the default settings, you can see Android SDK. Android SDK location should be turned on while choosing SDK tools. Choose SDK Tools from the tab, which gets highlighted once you choose imperative SDK tools including Android Emulator, Android SDK Build Tools 28. Also, make sure that basic Google services are available.
Step 3: How to enable Android SDK tools
In order to run the emulators, you should have Intel X86 Accelerator installed on windows. Before installing HAXM, you will have to enable Intel Virtualization. It is less likely that user will be encountered some technical issues including Stack Overflow, VTX not working etc. In order to face & resolve such issues, the user can read the manual and configure the Android SDK settings.
Step 4: Creating a new path for SDK_Environment Variable
Next, go to control panel and choose System & security tab, where you have to configure Android_Home variable. After opening the advanced tab on Change Settings, you should choose Environment variable, then click on New and make your own Android_ Home path.
Once the path is created, add ADB to the environment variable. The Android Debug Bridge will let you know which emulators are running on windows at the moment. Make the given command line to set up ADB location. Remember, Command lines are case sensitive and you need to type the exact script.
ADB: C:\Users\apatil\AppData\Local\Android\Sdk\platform-tools\adb.exe
Step 5: Install Node
Angular JavaScript is the part of Java, which can be installed through the linkhttps://nodejs.org/en/. Make sure the Npm is installed with the latest version of Angular Node.js. Add NPM to an environment variable. Click on view and then integrated Terminal and give a command :
npm install -g react-native-cli.
Step 6: Enable the Embedded java Tool Kit
Embedded JDK is built in feature of Android Studio. So, go to File, then other settings and Default Project Structure and check the Embedded JDK option. That’s all, steps are almost done. Now, create your First Native app by using the command line:
react-native init SampleReactNativeProject
Step 7: Create an Asset Directory
Before running the app, open Android Directory for your first project, it is important to choose app->src->main and create the asset directory. This is how you build your Android app.
Step 8: Run Your Script
Once you add the Asset directory, you have to adjust the script to make it simple. Select Package.json and run the given script in CMD.
“android-windows”: “react-native bundle –platform android –dev false –entry-file index.js –bundle-output android/app/src/main/assets/index.android.bundle –assets-dest android/app/src/main/res && react-native run-android”
You will be redirected into a new CMD, where Metro Bundler window is ready to install your app on Android Emulator. If you find any error in running the emulator, make sure that the Embedded JDK is checked properly.