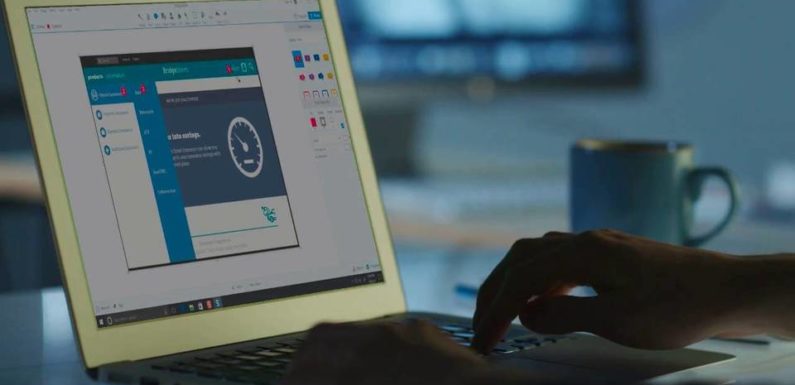
A bit of preparation will go a long way when capturing videos using screen recording. It will help you to record videos that look more professional and have better overall quality.
The best part is that all it takes is a few easy steps to prepare and record better videos, and it shouldn’t take long at all:
Clean up the desktop and other areas that may be recorded
Try to clear all unnecessary icons that aren’t going to be part of the recording from your desktop – and store them in a separate folder. On top of that you should also clean any other areas that may be recorded – such as the taskbar, start menu, or system tray.
Close programs and background processes that aren’t required
Any programs or background processes that aren’t required should be closed to free up system resources. The fewer programs that you have running, the less likely it is that stray notifications will pop-up mid-recording as well.
Make sure no updates or virus scans are scheduled
The last thing that you want is for an update to start being installed while you’re recording, or for your virus scan to begin a scan. Check that no updates are scheduled and pause your virus scanner if necessary.
Find a good microphone
If you’re recording audio via your microphone, try to find a good external microphone that you can use. It doesn’t have to be studio-quality, but it should be better than the standard built-in microphones on webcams, laptops, or cheap headphones.
Minimize any additional background noise
Another step that is important if you are recording audio via a microphone is to minimize any other background noise. Ideally you should find a location that is as quiet as possible, and record some test audio to see what background noise is present – then take steps accordingly.
Record as large a frame as possible
It is best to set up your screen recorder to capture as large a frame as possible – as that will increase the video resolution. If it is an option you should run the app that you’re recording in full-screen to maximize the resolution it is recorded in.
Increase the recording frame rate
Assuming your screen recorder allows you to adjust the frame rate, you should increase it. A frame rate of 30 is good, but if you can record at 60 frames per second your video will look much more fluid – especially when there is any movement in the video.
Rehearse before you record
It can often help to take a minute or two to rehearse the actions that you want to perform and capture using screen recording. That should let you perform them more smoothly when you’re actually recording the video – and avoid having to re-record certain parts and edit it in later.
As you can see the steps you need to take aren’t that complicated and can be performed quickly and easily. However, the impact they have on your videos will be noticeable and will help to improve the quality of your videos and make them look more impressive overall as well.
While you can use these steps with any tool to record screen Windows 10, it is best if you can adjust the recording parameters directly. For example, you could use Movavi Screen Recorder Studio to do that.
At the end of the day, you may be surprised just how much of a difference there is in your videos if you prepare more carefully. That being said the best way to see that is firsthand – so go ahead and try it out for yourself.

