

If Windows identifies a fault with a disk or that the computer was not fully shut down, then it will normally execute a disc integrity check on startup. However, it occasionally enters a loop & surfaces a check even when everything is OK. If this is the scenario, you should disable disc checking on Windows startup.
It is not recommended that you do this, but if you are certain that Windows is proposing to check drives in error & that your discs & data are okay, there’s a solution.
How to avoid Running Chkdsk on Windows Using the Command Prompt
The chkntfs command is a simple technique to deactivate disc checking on Windows startup. Here’s what you should do:
- Enter “command prompt” in the Start menu.
- Run as administrator by right-clicking on the Command Prompt software. You may need to provide user access.
- To bypass disc checking on the C drive, enter the following command into the console and press Enter. You can change C to any drive you want to skip.
C: chkntfs /x
- Simply include the drive letter to the command if you wish to skip more than one disc drive at Windows startup. The command to skip C and D drive checks would be as follows:
C: D: chkntfs
- This should prevent Windows from prompting you to verify your drives at startup.
How to Disable Disk Checking at Startup Using the Registry
You may also instruct Windows to omit to display the option to examine your drives at startup. However, be aware that altering registry entries may cause your system to become unstable. Here’s how to give it a go if you’re interested.
- Press Win + R, type “regedit,” and then click OK. You might be requested to provide user access control.
- Navigate to the following location and select the Session Manager folder to view its contents.
HKEY_LOCAL_MACHINE\SYSTEM\CurrentControlSet\Control\Session Manager
- Look for the BootExecute strings
- To open and alter its contents, double-click it.
- Enter this in the value data box to bypass disc testing on the C drive.
autocheck autochk /k:C *
- To restore scanning and testing for disc issues at startup, you must reset BootExecute to its default setting. Simply change its value data to the following:
autocheck autochk *
How to Run CHKDSK from the Installation Media
If you don’t have a Windows 10 installation media, you can learn how to make one using the Windows 10 media creation tool. After receiving the installation USB or CD, boot your machine into WinRE and navigate to the Advanced settings box to choose the Command Prompt option. Then, in Command Prompt, execute the CHKDSK command to scan and repair disc problems.
How to Run CHKDSK on Boot Using a Recovery Disk/USB
If your Windows 10 machine is unable to boot, but you know how to construct a Windows 10 recovery USB drive or disc, you may use the recovery USB drive or disc to boot your Windows 10 computer into Windows Recovery Environment (Windows RE). Then go to Troubleshoot -> Advanced options, choose Command Prompt from the blue Advanced options box, and perform the chkdsk /f /r command.
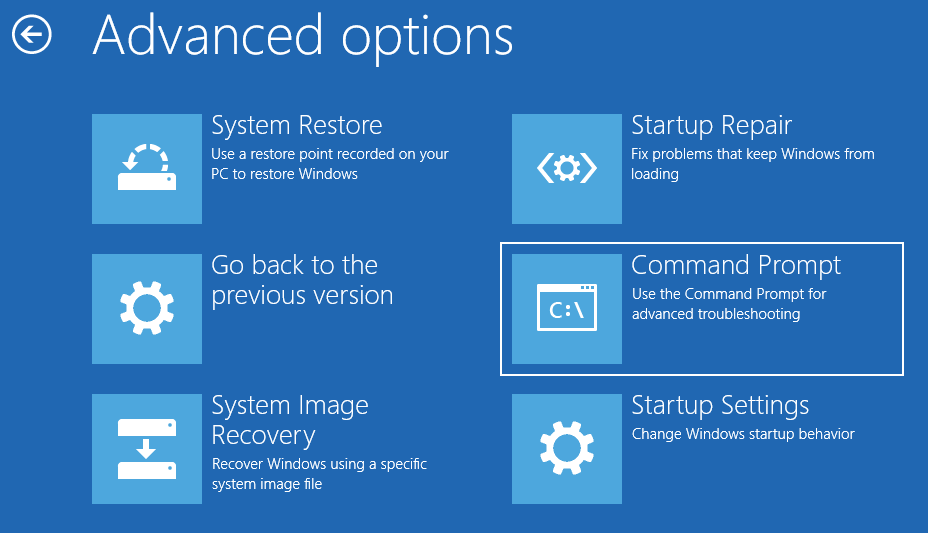
How to Run a Disk Check from the Advanced Options Screen in Windows 10
If you know how to access advanced starting options in Windows 10, you may boot your computer into the Command Prompt window by selecting Command Prompt on the Advanced settings screen. Then, in the Program Prompt window, use the CHKDSK command to check for and repair computer hard disc issues before booting into Windows.
Use Advanced Driver Updater
Advanced Driver Updater can update the HD graphics driver for you automatically. The driver upgrading application will scan your computer for outdated drivers and provide the most recent updates. The programme also avoids the possibility of downloading & installing the wrong driver. It does not require any technical knowledge to operate; Advanced Driver Updater manages everything.
Advanced Driver Updater is available in both a fully free and a registered edition. The registered version needs only two clicks (and includes technical assistance and a 60-day money-back guarantee):
- Click the Download Now button to get Advanced Driver Updater:
- Install the utility by double-clicking the.exe file and following the on-screen prompts.
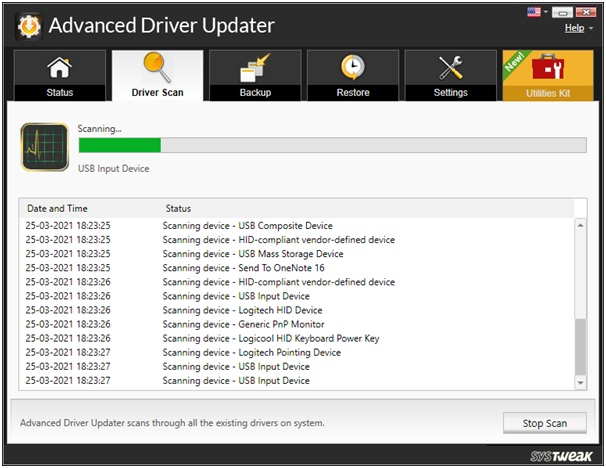
- Launch Advanced Driver Updater and press the Start Scan Now button to scan your PC for faulty, obsolete, or corrupt drivers.
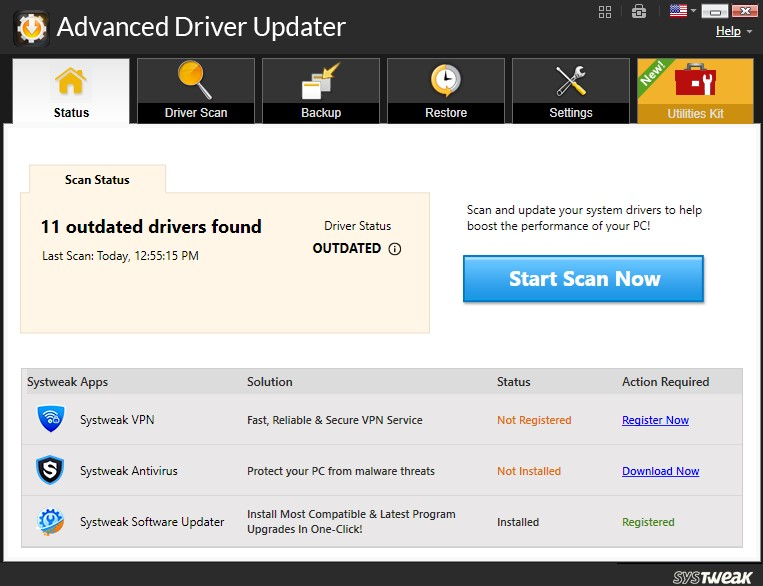
- To update the driver, click the Update All button. If you are sent to the purchase page, however, you will utilize the trial version. To update drivers for free, click the Update driver button next to the driver you want to update.
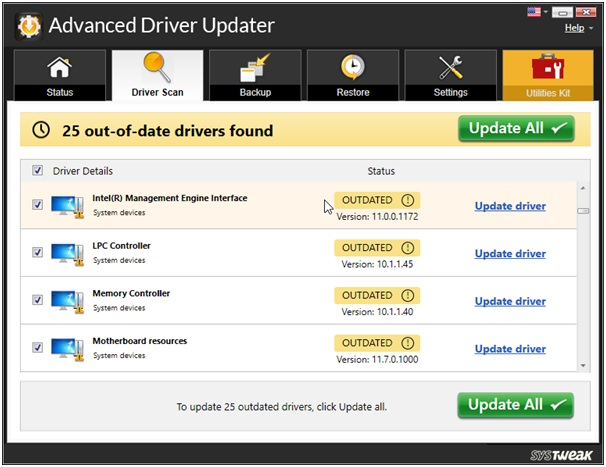
- Please keep in mind that the trial version of the programme only allows you to update one driver at a time. If you are a registered user, you may click Update All to have the proper version of all missing and obsolete drives downloaded and installed immediately.
Conclusion:
These solutions should disable disc scanning on Windows startup, but only if you are certain that your drives are in excellent condition. If, on the other hand, Windows Chkdsk is skipped because it becomes stuck or freezes on startup, there are other solutions.