
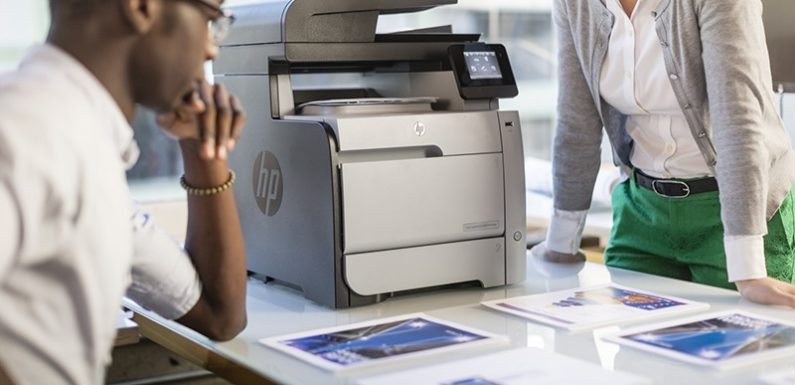
When we talk about Computer device and its peripherals, the first name that comes to our mind is Hewlett Packard or HP. Till today, HP has launched numerous gadgets including, Computer, laptops, Printers, Scanners, and more which not only ease our work pressure but also provide a complete peace of mind. One such gadget which was introduced by HP is Photosmart Printer; this device is perfect if you are fond of photography. Photosmart printer provides excellent quality of photo prints. However, this printer is popular for its excellence, but expecting a long-lastingness from it is definitely wrong, especially if you don’t pay enough attention towards its maintenance and repair.
If you do not pay attention towards your printer then you will assuredly face numerous issues while doing a print job such as internet connectivity issue, bad print quality, poor resolution, cartridges issue, etc. These issues can be common or big and to get rid of those HP Photosmart Printer problems, you can adopt two ways: by following troubleshooting guide or by contacting the reliable support team.
Apart from this, your Photosmart Printer has the capability to save your printing jobs in the cloud. Yes, you read that right. Now, you can access your e-prints from anywhere in the world, just install Photosmart Printers on Google Cloud.
Apart from HP Photosmart printers, there are several other genres of HP printers that support Google Cloud prints including, HP AMP Printers, Deskjet printers, Design Jet printer, Envy printer, Laser Jet printer, Office Jet printer, and Pagewide printer so, if you are using any one among them, you can effectually use Google cloud print.
Google Cloud Print is a free service that enables the users to take a printout of document and photos from any device which is connected to the network and your printer. With this tool, you do not need to install any driver or software. Now the main question is how to use Google Cloud Print? In this article, we are going to explain some easy methods of installing the Photosmart Printers on Google Cloud follow them and enjoy printing.
Step 1: Connect your Photosmart printer to Google Cloud Print
To enjoy this phenomenal experience, first, you need to create a proper setup between your printing device and Google Cloud Print from your personal devices like computer and smartphone. However, you can use this service from your Apple or Android devices; but first, you need to install Google Cloud Print from a Chromebook or computer.
Step 2: Open Chrome Browser in all devices which are currently connected to your network and those who are providing full support to your HP Photosmart printing device. You can print from any of your personal devices such as laptops, computers, or mobile phones.
Different devices by which you can print your documents or images:
- You can print an email or webpage from your PC.
- You can print a document or saved photo from your Android device.
- You can print an email or webpage from your Android device.
- You can take a printout from your iPhone.
- Take a printout from Google drive.
Step 3: Create a Gmail account by using account setting panel in order to log in the Google Chrome and if you already have a Gmail ID then you can use that one.
Step 4: Now, create a reliable setup between your Photosmart Printer and your computer device. For this, go to the Menu option and click the Setting button which is placed on the very right corner of the Google Chrome page.
Step 5: Now, you have to create a connection between your Google Account and Google print service so that you can access Google Cloud Print. So, for this, click on the Google Print button then press Add Printer button. As soon as you click the add button, you will see a connection is established between them.
Step 6: Select “Manage Your Printer” option from the Menu bar (it is located at the very left corner of the page). Here, you can get a complete list of connected devices to the Google Cloud Print.
Step 7: In order to add Cloud Printer, click on “Add a Cloud-Ready Print” button which you see on the very left corner of the screen.
Step 8: Type your printer name and as we are discussing Photosmart printer then simply select HP from the available list of printing devices and follow the instruction which is displayed on the screen.
After following all the steps, your HP Photosmart printer is successfully installed on the Google Cloud. Now, you can print or access your official documents and photos from any device which is connected to the network. Attain this hassle-free way and enjoy taking a printout with an ease. In case, you face any problem while using this service or facing any technical issue while installing then immediately contact HP Printer support service for help.